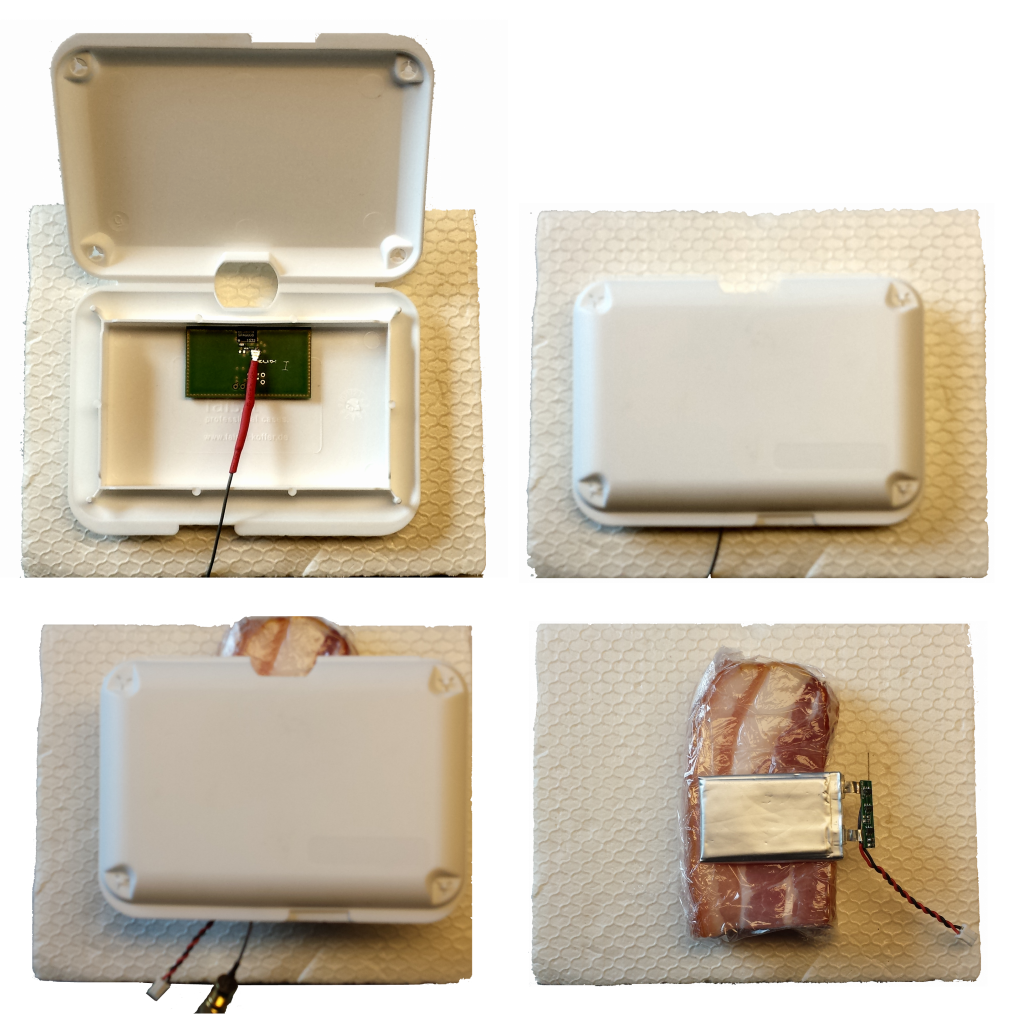
Today we tell you the ingredients you will need in order to reproduce the world’s first IoT sandwich. The sandwich is planned as a starter. We will show you how to make the main course and the dessert later.
Ingredients for the IoT sandwich
For the PCBs
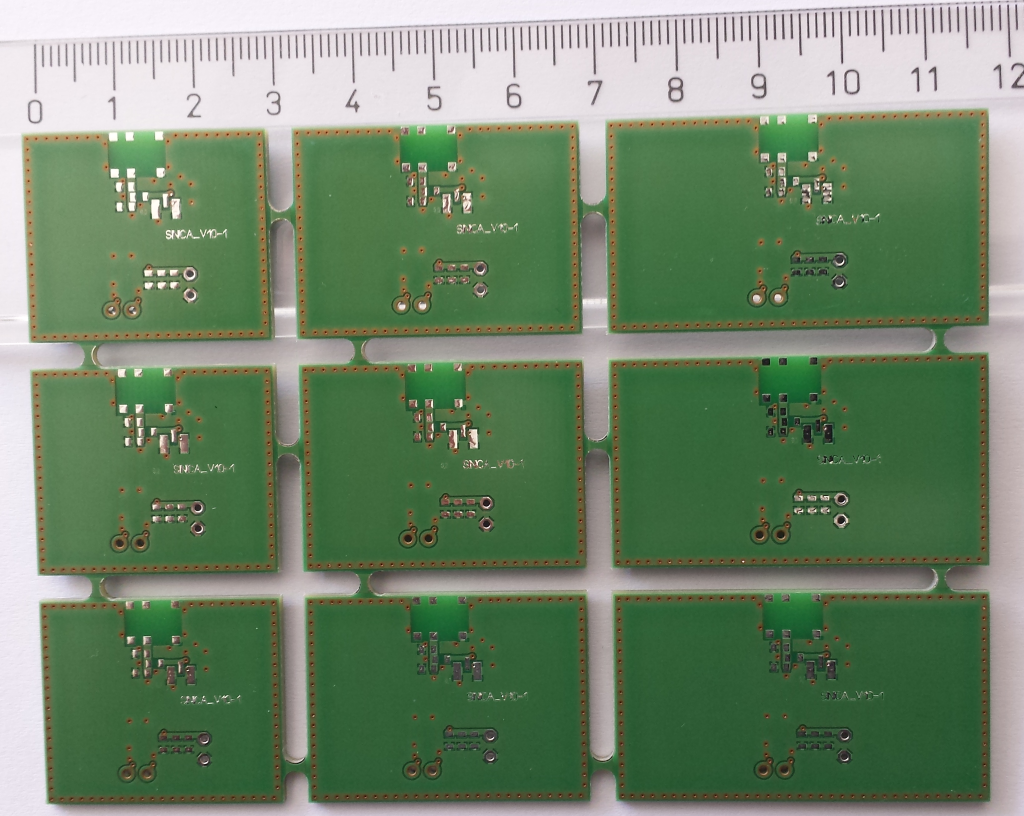
- 9 different PCB shapes (3 different cut-out zones on 3 PCBs = 9 different PCBs)
- 9 GPS chip loop antennas
- 9 U.FL connectors
- 9 capacitors
- 9 inductors
To enclose the PCBs
- 1 plastic enclosure
- 1 LiPo battery
- 1 piece of polystyrene (e.g. Styrofoam)
- 1 piece of German bacon
For the test setup
- 1 Vector Network Analyser (up to 4 GHz)
- 1 U.FL to SMA coaxial cable
- 1 balun inside of the U.FL to SMA coaxial cable
Method
1. Start
<<snip>>
20. Stop
This is what your final IoT sandwich will look like:
Nine different PCBs to test the GPS chip loop antenna
The method for making the world’s first IoT sandwich will be explained in future blog posts. Nevertheless, the pictures show the steps in between and what your final IoT sandwich will look like.
Do you need sandwich ideas for tracking your pet or expensive asset? Sick of running to the local distributor? Look no further for satisfying and delicious sandwich recipes, perfect for pets or even people. Are you already planning a small GPS tracking device? Do you have a design for a GPS tracking device and would like to make it smaller? Does this sandwich make your mouth water? Can’t wait for the recipe instructions?
If your answer is “YES” to any of these questions then do not hesitate to drop an email to harald.naumann (at) gsm – modem .de
Further GPS chip loop antennas under test
GPS antenna selection for a GSM / GPS tracker – DUT 1
GPS antenna selection for a GSM / GPS tracker – DUT 2
GPS antenna selection for a GSM / GPS tracker – DUT 3
GPS antenna selection for a GSM / GPS tracker – DUT 4

